Table of contents
Open Table of contents
Intro
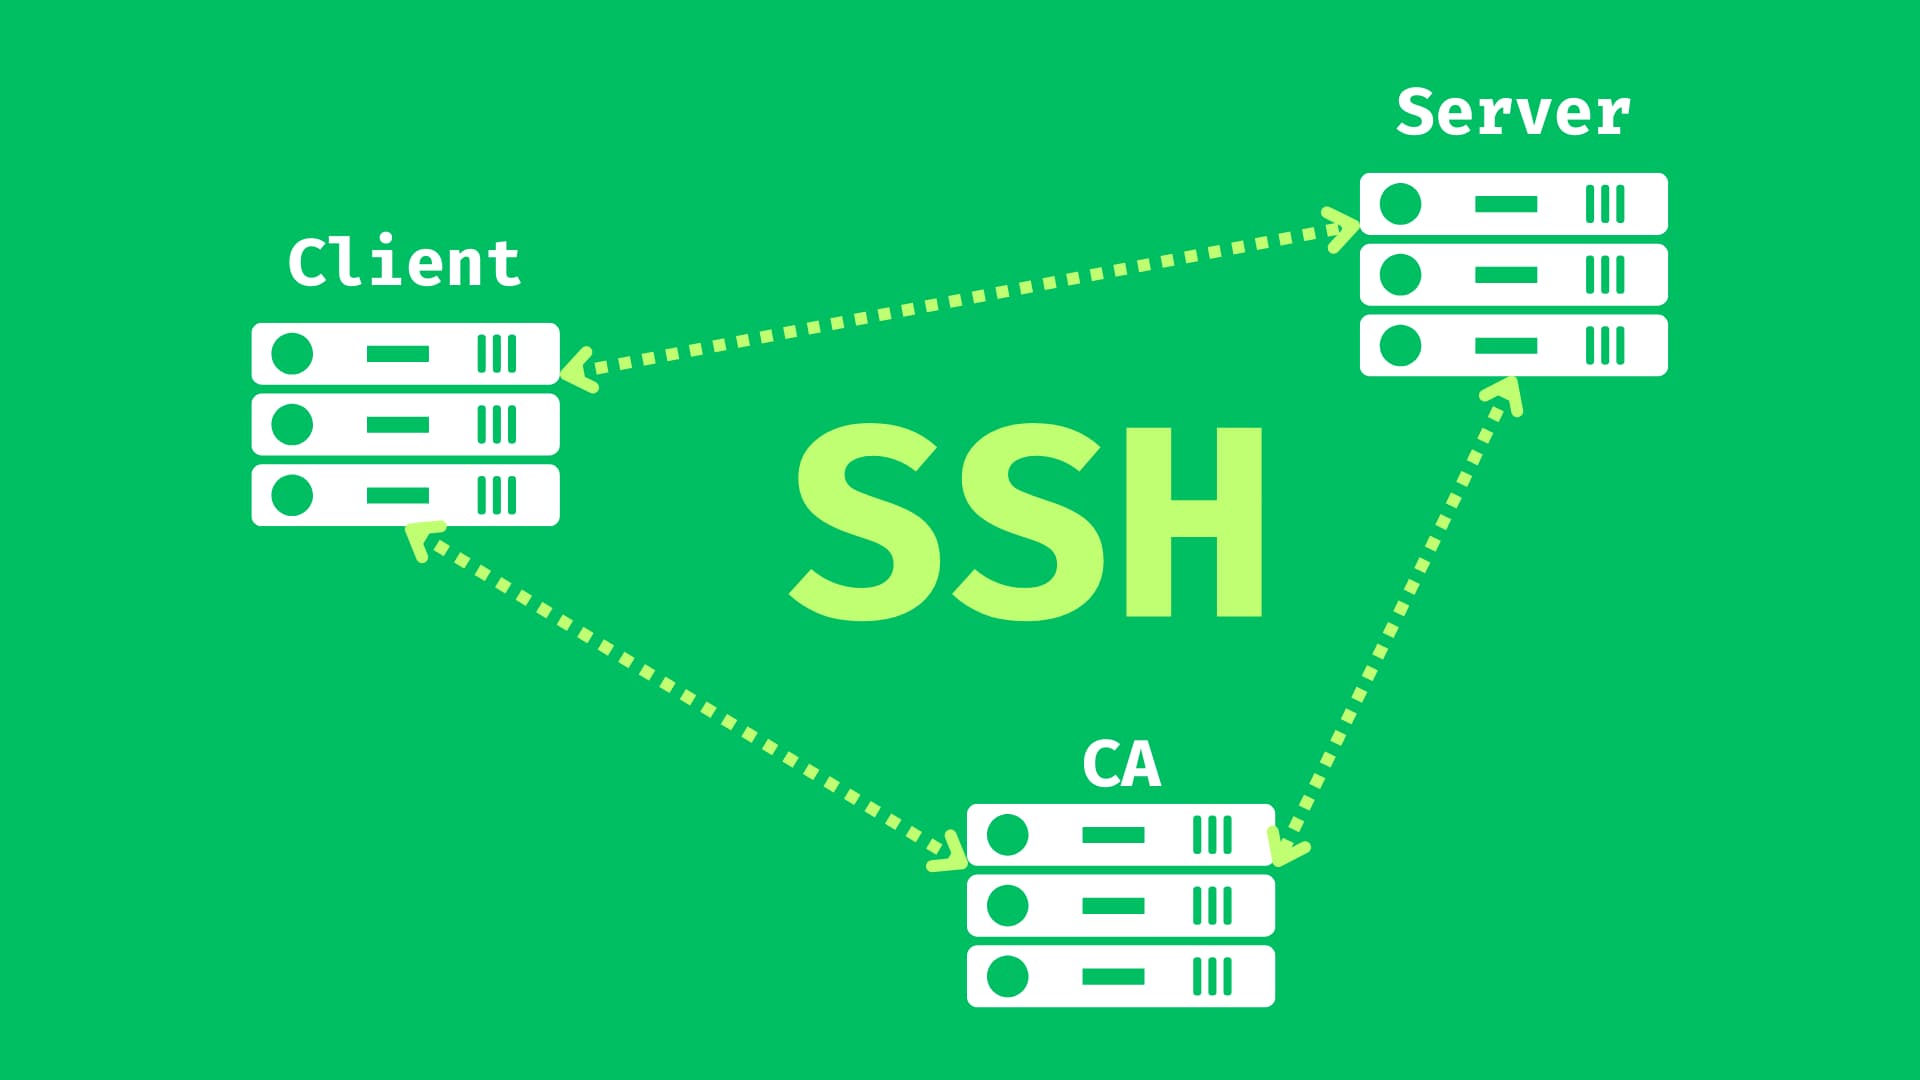
This guide walks you through setting up a lab environment using Docker, where we’ll configure SSH certificate authentication between three Ubuntu containers.
Disclaimer
This guide is to short and introductory for SSH Certificate Authentication. There is a lot more things to do for Security and Convenience.
The Environment Setup
- Docker. Install it onto the host machine.
- 1 Network
- 3 Ubuntu Containers
# Create a Docker Network
docker network create ssh-lab-net

# Launch Three Ubuntu Containers
docker run -d --name ca --network ssh-lab-net ubuntu:latest sleep infinity
docker run -d --name client --network ssh-lab-net ubuntu:latest sleep infinity
docker run -d --name server --network ssh-lab-net ubuntu:latest sleep infinity

# Install SSH Tools
docker exec -it ca bash
apt-get update && apt-get install -y openssh-server openssh-client vim
exit

docker exec -it client bash
apt-get update && apt-get install -y openssh-client vim
exit

docker exec -it server bash
apt-get update && apt-get install -y openssh-server vim
service ssh start
exit
Quick Reference for Some Commands
ssh-keygen
-f Specifies the filename of the key file.
-C Adds a comment to the key or certificate.
-N Specifies a new passphrase for the key.
-s Signs a public key with the CA key to create a certificate.
-I Specifies the certificate identity.
-n Specifies the principals (usernames or hostnames) for the certificate.
-V Specifies the validity period of the certificate.
-O Adds a certificate option or constraint.
-t Specifies the type of key to create.
-L Shows the public key in a certificate.
ssh
-i Specify Identity File
SSH Configurations
Configure the Certificate Authority (CA)
# Create a CA Key and Certificate
docker exec -it ca bash
ssh-keygen -f /root/ca_key -C "CA" -N ""  # Use a passphrase if desired
# Copy the CA Public Key to the Server
## Copy /root/ca_key.pub from the ca container
## Paste it to /root/ca_key.pub in the server container
Configure the Server to Trust the CA
# Trust the CA's Public Key on the Server
docker exec -it server bash
mkdir /etc/ssh/ca
mv /root/ca_key.pub /etc/ssh/ca/ca_key.pub
echo "TrustedUserCAKeys /etc/ssh/ca/ca_key.pub" >> /etc/ssh/sshd_config
service ssh restart
Create and Sign User Keys with CA
# Generate SSH Key Pair on the Client
docker exec -it client bash
ssh-keygen -f /root/client_key -C "client" -N ""

# Sign the User Public Key with the CA
## Copy /root/client_key.pub from the client container
## Paste it to /root/client_key.pub in the ca container
# On the CA container:
docker exec -it ca bash
ssh-keygen -s /root/ca_key -I "client" -n root -V +52w /root/client_key.pub
## Copy /root/client_key-cert.pub from the ca container
## Paste it back to the client container
Test SSH Access with the Certificate
SSH from Client to Server, o the client container:
# SSH from Client to Server
docker exec -it client bash
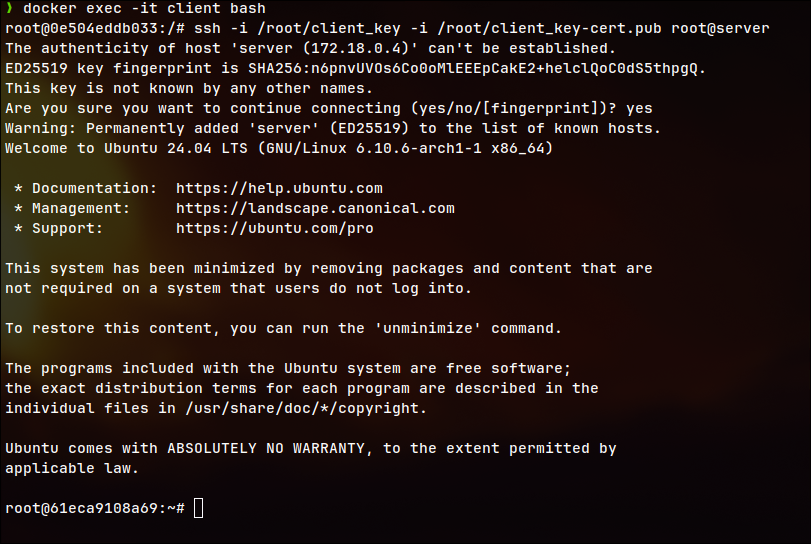
ssh -i /root/client_key -i /root/client_key-cert.pub root@server
You should see a successful connection, confirming that the setup works.

Benefits
SSH certificates offer several advantages over traditional password-based authentication:
- Passwordless Authentication: Removes the risk of brute-force attacks.
- Two-Factor Authentication: You can enhance security by adding a passphrase.
- Automated Logins: Simplifies automation and scripting by eliminating the need to enter passwords repeatedly.
- Centralized Access Control: Manage access across multiple servers with a single CA.
- Scalability: Easily add new users or servers to your infrastructure.
- Easier Management for Multiple Servers: Simplifies key management and revocation.
- Traceability: Certificates can be logged and audited for security.
- No More Password Reuse: Prevents the common security issue of reused passwords.
Conclusion
In summary, while traditional password-based SSH is suitable for small setups, SSH certificates are the way to go for larger, scalable environments that require robust security and easy management.
