
Table of contents
Open Table of contents
Intro
Did you know you can run a server completely free on Google Cloud Platform (GCP)? Thanks to GCP’s Always Free tier, you get access to a small but functional virtual machine at no cost. This guide will walk you through how to utilize it to deploy a Gist website using opengist, securing traffic with Cloudflare’s cloudflared tunnel.
According to the following article:
- https://cloud.google.com/free/docs/free-cloud-features (
ctrl+Fand search forCompute Engine)
We get e2-micro instance, which has a shared CPU core, 1 GB RAM and 30 GB storage. (Note: There is a limit for outbound traffic: 1GB)
This might seem small, but it’s enough for various use cases like:
- Automation platforms (
n8n) - Cronjobs
- Telegram bots
- Scrapers
- Simple monitoring systems (
ntfy.sh) - Personal Git repo (
Gitea) - Lightweight portfolio websites
- VPN/Tunnel servers
- Email servers
- Small SaaS tools
In this tutorial, we’ll focus on deploying a self-hosted Gist website using opengist:
Gist is a service for sharing code snippets and files, similar to a pastebin. opengist is an open-source alternative that allows you to run your own self-hosted Gist service.
And for securing the traffic, hiding the actual server IP and avoiding exposing ports directly to the internet, I will use clodflared:
And all of it should not cost you any money! (You can acquire a domain name free too, for your information)
The Prerequisites, before we begin:
- A GCP account with billing enabled (won’t be charged under free limits)
- A Cloudflare account with a registered domain (you can get one for free, too)
And for more free stuff:
E2-MICRO Setup
Let’s first start by setup of e2-micro.
Navigate to Compute Engine on GCP
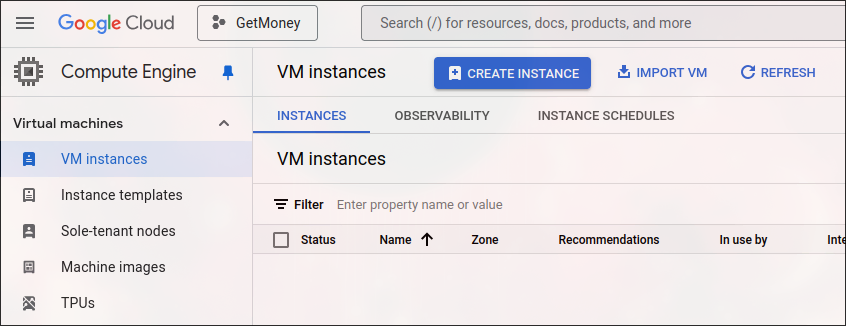
Create Instance
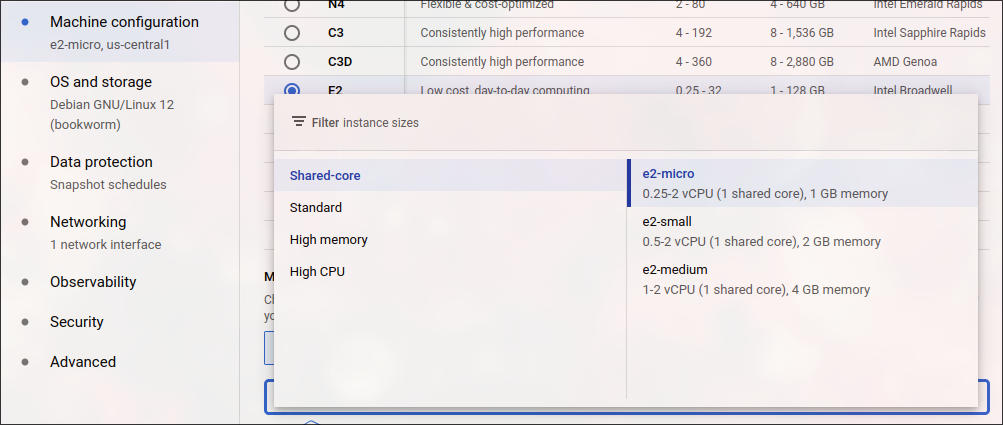
Machine Configuration
- give it a name
- choose e2-micro
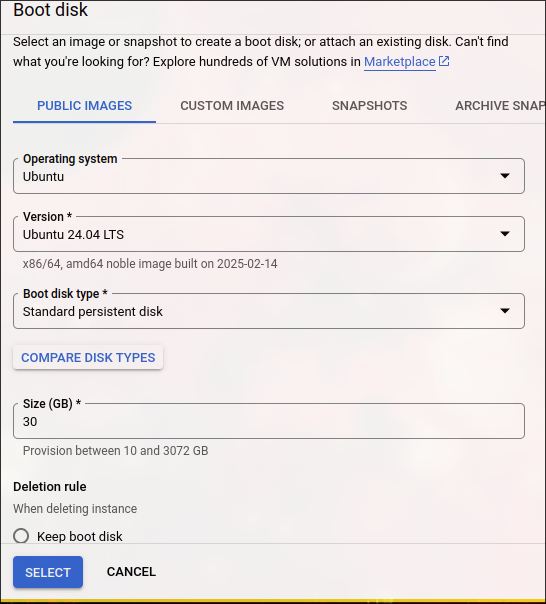
OS and storage
- Select the following (or desired distro):
- Ubuntu Minimal 24.04 LTS
- Select Boot Disk Type:
- Standard Persistent Disk
- And Size:
- 30 GB
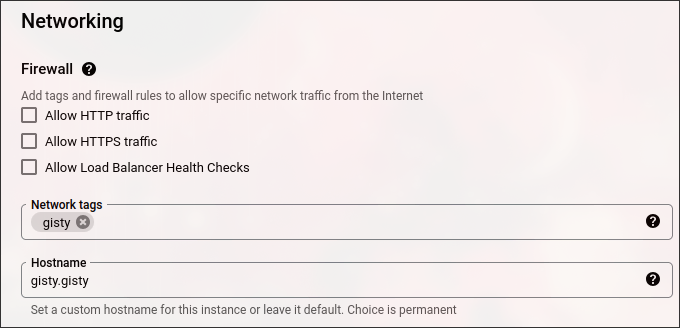
Networking (Optional)
If you will have other plans, such as not using Cloudflared and opening a port on GCP’s Firewall, I recommend to give it a network tag:
Create The Instance
Do not worry about the price on the right part of the screen, it will be calculated as free at the end of the month.
Now you can ssh to the VM via GCP.
Degoogle the VM (optional)
There are some GCP things that I do not like and want to turn off for getting more resources for the machine:
Degoogling SSH
If you want to ssh to the machine using traditional ways:
SSH to the Machine, become root, add your user to sudoers, change password for your user, delete an SSH config that GCP put there and restart the SSH service.
sudo su
usermod -aG sudo youruser
passwd youruser
rm -rf /etc/ssh/sshd_config.d/60-cloudimg-settings.conf
systemctl restart ssh
Now, you will be able to ssh to the machine from your terminal. Of course, it would be better to ssh with keys, but after configuration I will close port 22, so I do not really care :).
Remove some services
There are some services that can free up 50 Megabytes (5% Memory gain:)):
snapd
sudo systemctl stop snapd
sudo systemctl disable snapd
sudo systemctl mask snapd

sudo apt purge snapd -y
rm -rf ~/snap /snap /var/snap /var/lib/snapd /var/cache/snapd

sudo apt update && sudo apt autoremove -y
sudo systemctl stop google-guest-agent google-osconfig-agent
sudo systemctl disable google-guest-agent google-osconfig-agent
sudo systemctl mask google-guest-agent google-osconfig-agent

sudo apt purge google-guest-agent google-osconfig-agent -y

sudo rm -rf /etc/default/google-guest-agent /etc/systemd/system/google-guest-agent.service
sudo rm -rf /etc/default/google-osconfig-agent /etc/systemd/system/google-osconfig-agent.service
sudo rm -rf /usr/bin/google-guest-* /usr/bin/google-osconfig-* /var/lib/google

sudo apt update && sudo apt autoremove -y
Install some utilities
There are some tools that can be helpful managing this small instance:
apt install vim git btop -y
Opengist (Part 1)
Actually, you can deploy anything you want, I chose Opengist for demonstration purposes.
Installation and Configuration
I gonna install a binary and run it as a service:
- https://opengist.io/docs/installation/binary.html
- https://opengist.io/docs/administration/run-with-systemd.html
# download and prepare
wget https://github.com/thomiceli/opengist/releases/download/v1.9.1/opengist1.9.1-linux-amd64.tar.gz
tar xzvf opengist1.9.1-linux-amd64.tar.gz
cd opengist
chmod +x opengist

# put binary and config file to the specified places
sudo cp opengist /usr/local/bin
sudo mkdir -p /var/lib/opengist
sudo mkdir -p /etc/opengist
sudo cp config.yml /etc/opengist

# edit the config file
vim /etc/opengist/config.yml
# change the following:

opengist-home: /var/lib/opengist
# I do not want to expose the services in traditional way
ssh.host: 127.0.0.1
http.host: 127.0.0.1
# Note: but you can leave it as 0.0.0.0, and try opengist without a tunneling that I gonna implement

external-url: https://some.yourdomain.com
# next add a specific user for the service
sudo useradd --system opengist
sudo mkdir -p /var/lib/opengist
sudo chown -R opengist:opengist /var/lib/opengist

# then create the service
vim /etc/systemd/system/opengist.service
[Unit]
Description=opengist Server
After=network.target

[Service]
Type=simple
User=opengist
Group=opengist
ExecStart=opengist --config /etc/opengist/config.yml
Restart=on-failure

[Install]
WantedBy=multi-user.target
# finally, start the service
systemctl daemon-reload
systemctl enable --now opengist
systemctl status opengist # ensure it is active
At the end, you will have Opengist running locally. However, we want to expose it securely to the public.
Cloudflared
Time to setup a Tunnel.
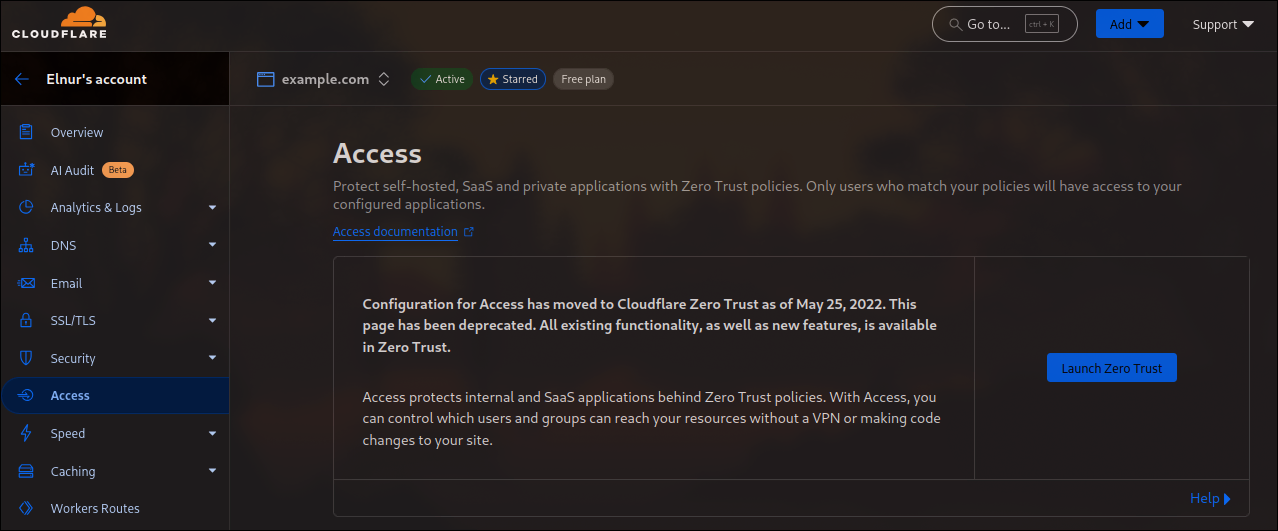
Go to your Cloudflare Dashboard, and Navigate to Access, and launch Zero Trust:
 Then, go to Networks/Tunnels and click Add a tunnel:
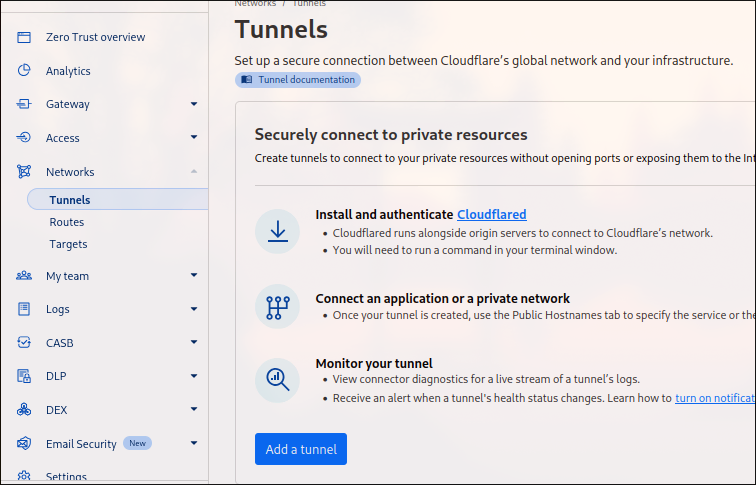
Then, select Cloudflared, and name your tunnel. After you save, it will show you commands to run in order to install cloudflared daemon to your VM:
# Token will differ for you
curl -L --output cloudflared.deb https://github.com/cloudflare/cloudflared/releases/latest/download/cloudflared-linux-amd64.deb &&
sudo dpkg -i cloudflared.deb &&
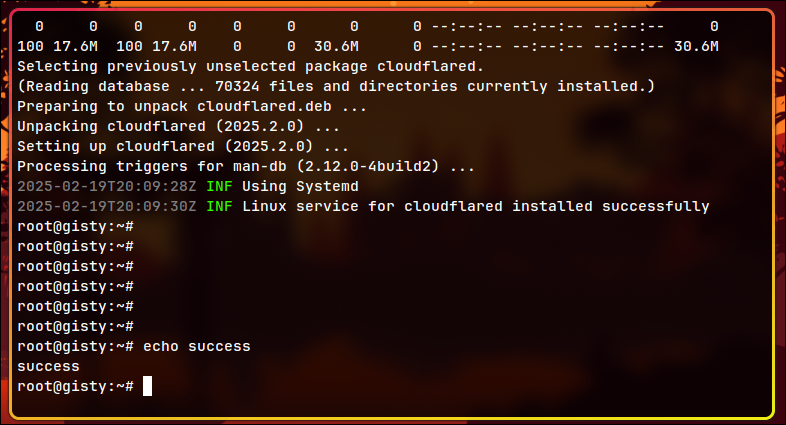
sudo cloudflared service install eyJhIjo...
It will result in success:
Final step is to route the traffic. Opengist’s default port is 6157 and it runs on localhost. Add public hostname the following way:
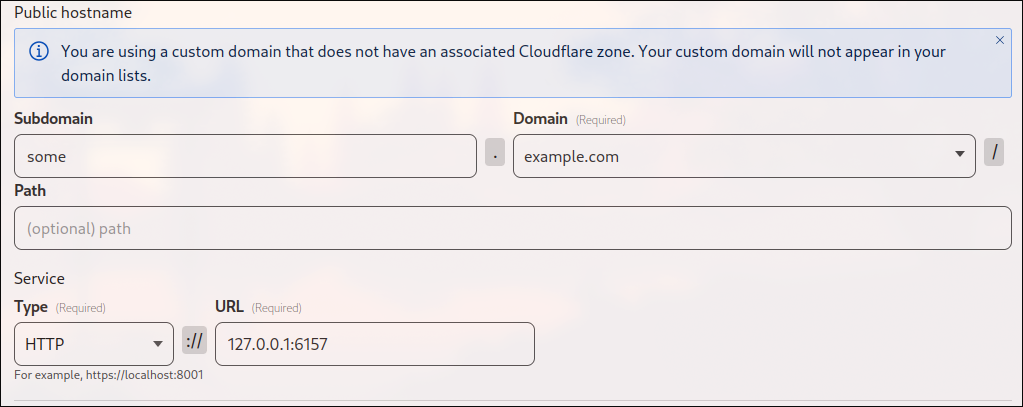
- specify the subdomain and domain
- and specify the service you want to expose:
- Type: HTTP
- URL: 127.0.0.1:6157
Moreover, you can open not only HTTP, but also many other protocols.
Opengist (Part 2)
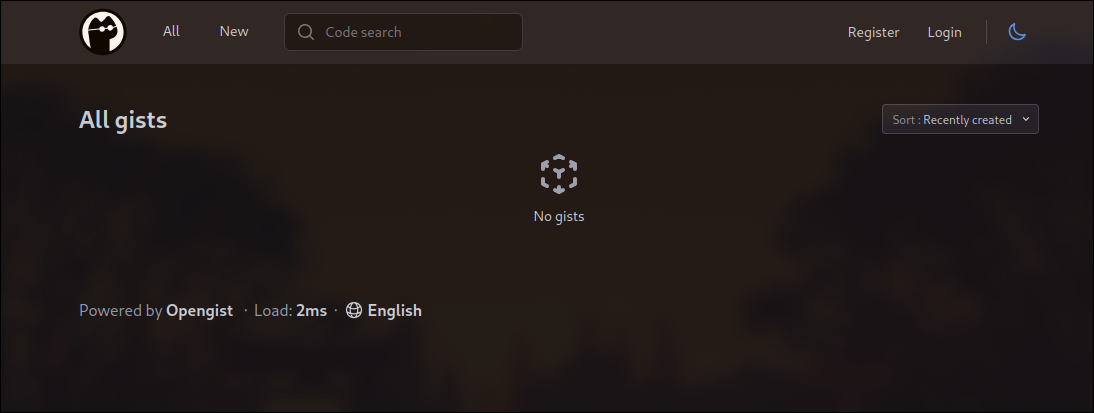
Check the website
At the end you should be able to see the website appear on the subdomain you specified.
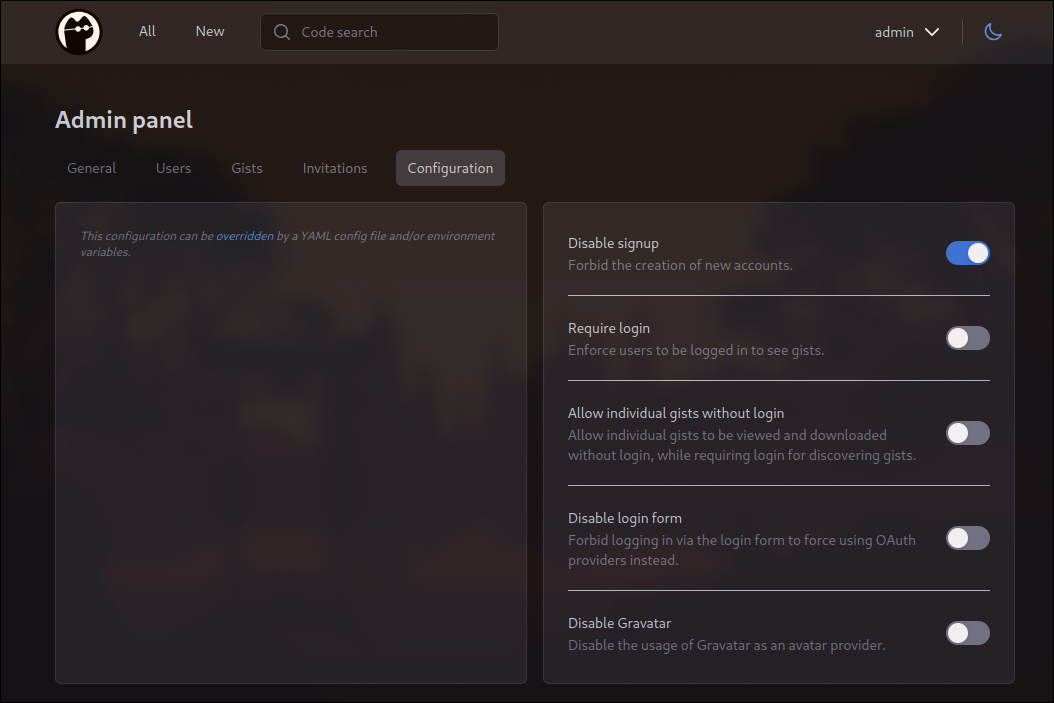
Admin
First user to register is admin. Give him a strong password and register the admin user.
Next, I recommend to check configuration options and enable the ones that suit you most:
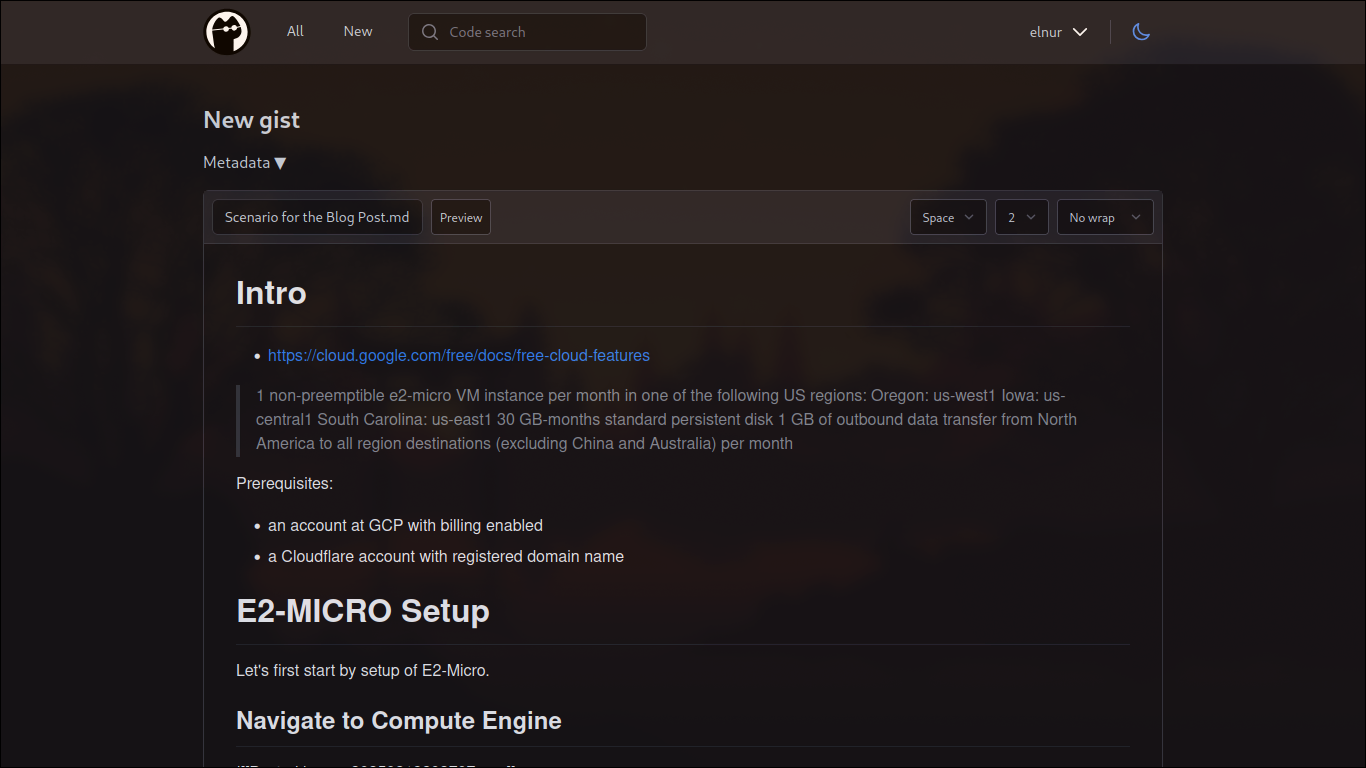
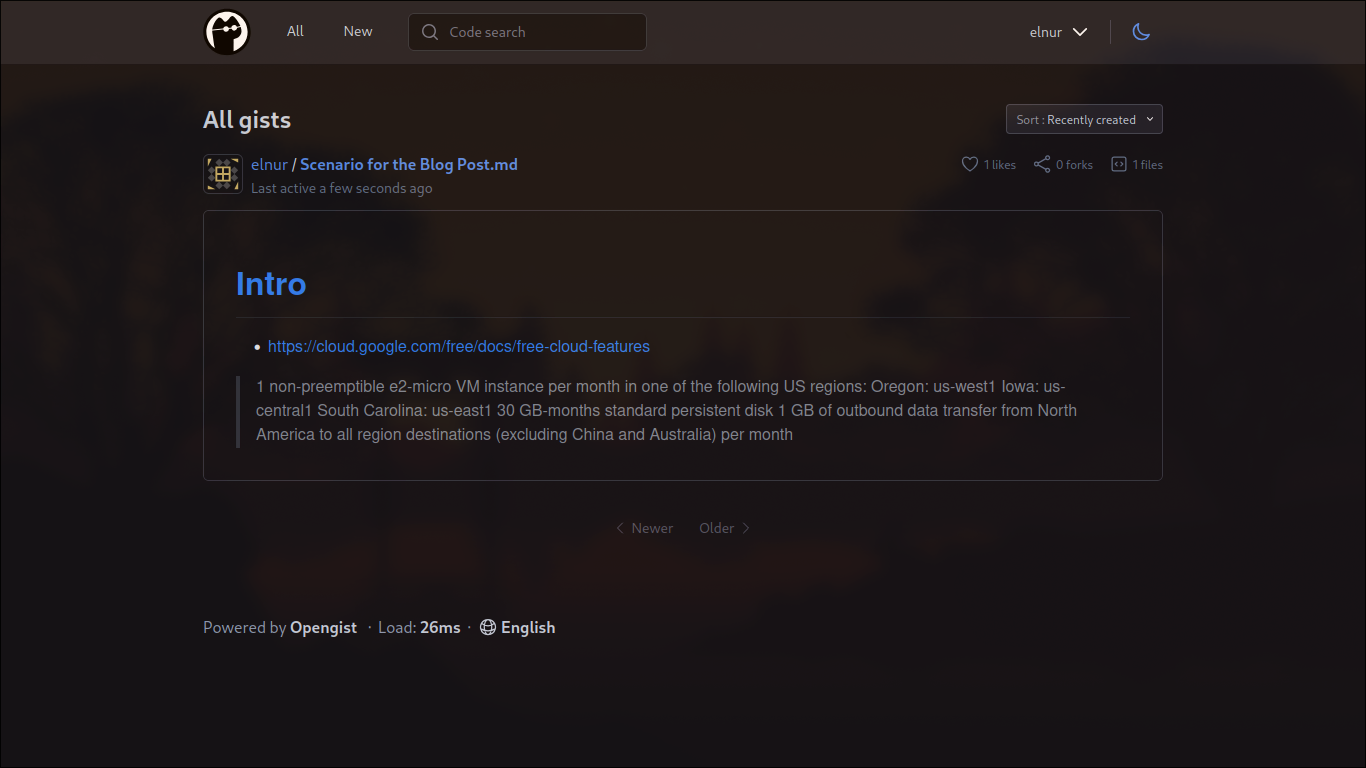
Usage
This simple web app allows you to share text. That is it. But still useful :).
Bonus (Egress Traffic Limit)
Google Cloud Platform (GCP) enforces an egress traffic limit of 1 GB, beyond which charges apply for each additional byte. To manage and limit egress traffic efficiently, a simple script using iptables can help monitor and enforce restrictions.
First, install iptables and configure a policy to count egress traffic:
apt install iptables

iptables -N EGRESS_MONITOR
iptables -A OUTPUT -j EGRESS_MONITOR
iptables -A EGRESS_MONITOR -m comment --comment "Egress Monitoring" -j RETURN
This creates a custom chain EGRESS_MONITOR and directs outgoing traffic through it for monitoring.
To automatically enforce egress limits, create a script that checks traffic usage and applies restrictions if the threshold is exceeded.
cd /root/
vim check_egress.sh
chmod +x check_egress.sh
Add the following content to check_egress.sh:
#!/bin/bash

LIMIT=$((800 * 1024 * 1024)) # 800 Mb
EGRESS_USAGE=$(iptables -L EGRESS_MONITOR -v -x | awk '/Egress Monitoring/ {print $2}')

echo "[-] $(($EGRESS_USAGE/1024)) Kb is used - $(date)"

if [[ "$EGRESS_USAGE" -ge "$LIMIT" ]]; then
    # Flush OUTPUT chain
    iptables -F OUTPUT

    # Allow established connections to persist
    iptables -A OUTPUT -m conntrack --ctstate ESTABLISHED,RELATED -j ACCEPT

    # Allow essential outbound traffic
    iptables -A OUTPUT -p tcp --dport 22 -j ACCEPT  # SSH
    iptables -A OUTPUT -p tcp --dport 53 -j ACCEPT  # DNS TCP
    iptables -A OUTPUT -p udp --dport 53 -j ACCEPT  # DNS UDP
    iptables -A OUTPUT -p udp --dport 68 -j ACCEPT  # DHCP
    iptables -A OUTPUT -p udp --dport 323 -j ACCEPT # NTP

    # Drop all other outbound traffic
    iptables -A OUTPUT -j DROP

    echo "[+] LIMIT: $(($LIMIT)) achieved - $(date) - stopping the Egress traffic flow"
fi
To ensure continuous monitoring, schedule the script to run every minute via cron:
crontab -e
# write there
* * * * * /root/check_egress.sh >> /var/log/tc.log # every minute check for the count
0 0 1 * * iptables -Z EGRESS_MONITOR # restart the counter
This setup monitors and restricts egress traffic, but it does not guarantee that the limit will never be exceeded, as some essential ports remain open. To ensure the egress limit is not exceeded, consider closing all ports.
Result
You have learnt about a free VM, its utilization, Opengist Deployment and Cloudflared.
And if you wonder how resources are used in this setup:
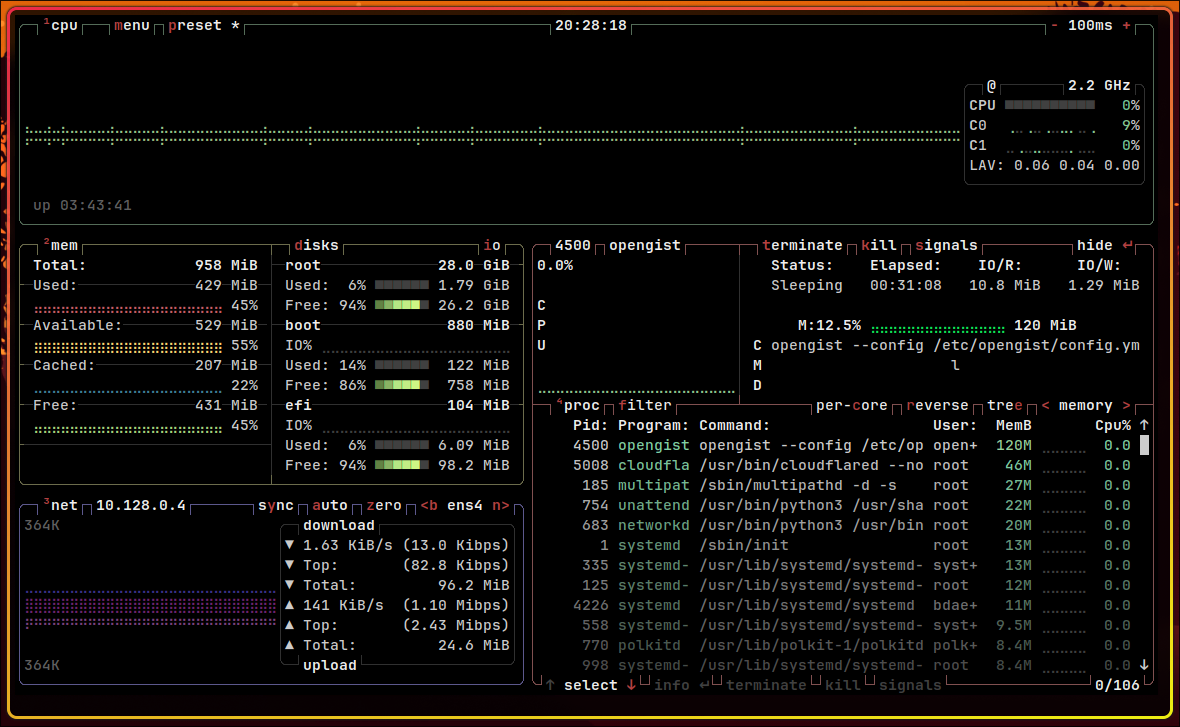 (
(btop command was used for the image above)